Saturday, January 7, 2012

Fun with Denim

I know I've been a bad poster here. Still making stuff. Just too (busy, lazy, unoriginal) to post them. Pinterest has kind of filled my need to post things I've tried.
But here a few things I've done lately. I've been collecting ill-fitting, holey jeans for a while and finished a few things.

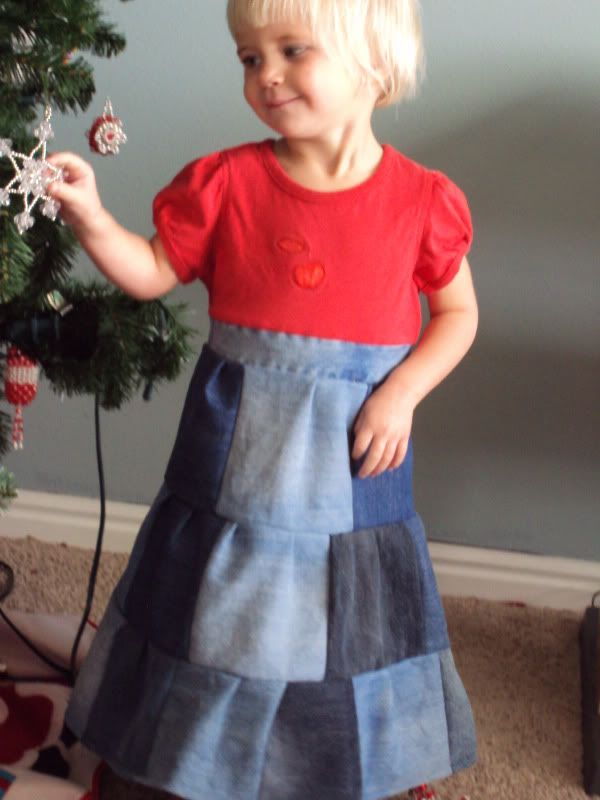
The first one is this dress where I cut a tee and added layers of denim on the bottom. Inspiration here.
Photobucket
Dang, in the newer blogs you can make pictures smaller in the compose page. Sorry about the largeness.

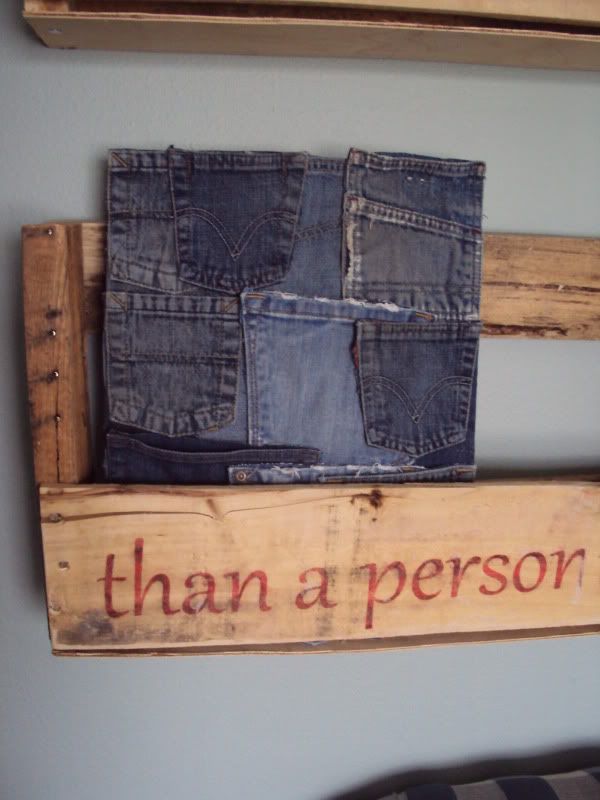
Second, I finally made some art to go with the pallet shelves I made. I needed something rustic, so I took an art board from the thrift store, cut up denim and mod podged it to the board for the backyard. Then I used my glue gun to glue on pockets. I like it.
Photobucket

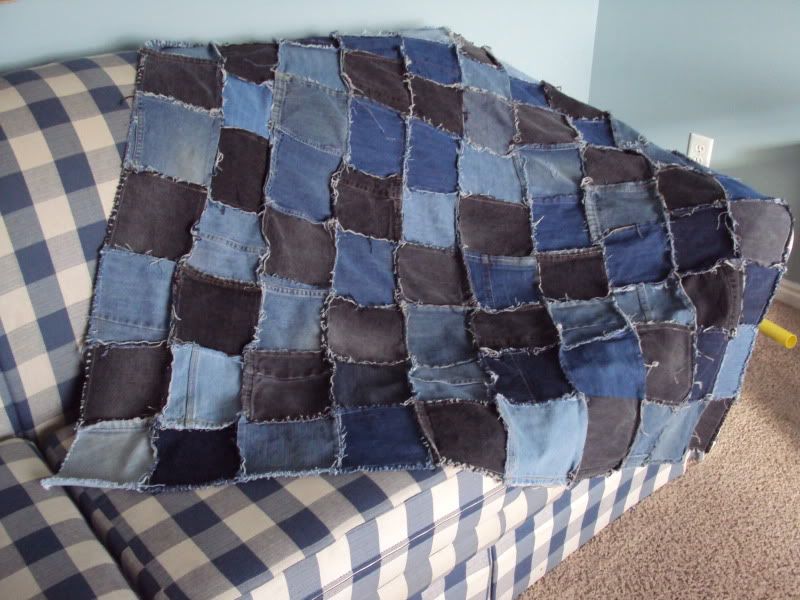
Lastly, I made a simplified denim rag quilt (no back) using more of the old jeans. A great decorator, nap quilt, and/or picnic blanket.
Photobucket

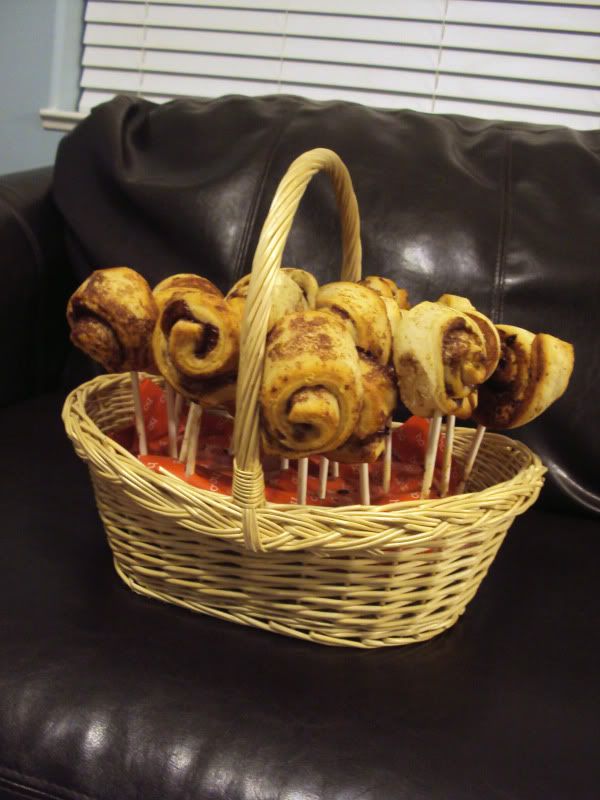
Let's see...what else fun have I done? I made a cinnamon roll bouquet for Christmas Eve. (I just used the tube kind)
Photobucket


Thursday, December 15, 2011

Fun Neighbor Gift

I had this little gift on my mind almost all year after I purchased this download from the Silhouette store months ago. Who doesn't like to leave cookies and milk for Santa?? When I was young we had a special plate and mug for Santa. They were blue tin with little Christmas pictures on them. I always thought it was fun to have a plate that was just for Santa. So I decided that is what we were going to give to our friends this year.
I made a plate for Santa. And a special mug for his milk.


What you will need: a mug, a plate, vinyl. (I purchased my mugs and plates at Tai Pan Trading when they had a sale. They were super cheap! ) This project is SO simple! All you have to do is purchase your mugs and plates, cut out your vinyl and tranfer it! You wouldn't even have to put the picture of Santa on it if you don't want to. Very easy!


Cookies and milk are sure to make Santa very happy! :)


I wrapped the set up with cellophane and a cute Christmas bow using some adorable ribbon. And I added a little Christmas tag that I made.


Santa is going to be one happy guy this year!


Tuesday, November 22, 2011

Christmas Advent Calendar

After I had so much fun making my Halloween Advent Calendar, and more importantly, watching my cute girls have so much doing the activities every day, I knew I had to come up with something for Christmas. So I came up with a tree with little circle ornaments. So by the time Christmas day comes, it loooks like a little decorated Christmas tree.
This is what it looks like to start. Then you flip one ornament over every day to count down to Christmas.


Each day has a Christmas/winter activity behind it.


Then on Christmas Day, your kids put a star on the top. So this is what it looks like on Christmas day.


What you will need:Tree-shaped piece of wood. (This tree was cut from a piece that was 12x24.)

24 circle tags, Christmas paper, mod podge, gold vinyl, green, brown, and red spray paint, green and red ribbon, glue dots, star, green velcro, 24 nails

(I didn't take pictures of this process since it is just like the Halloween Calendar, and because I am lame.) Start by spray painting your tree and tags. I only painted one side. Let dry completely.

Cut vinyl numbers and paper to fit tags. (I used my Silhouette to cut the paper and vinyl numbers.)Transfer vinyl numbers to the red side of the tags. Mod Podge paper to tags. Let dry. Cut 2 inch strips of ribbon, tie a knot in the middle and stick to tags on the side with paper using a glue dot.

Hot glue velcro to top of tree and back of the star. Measure and hammer your nails into your board. Make a list of activities you want to do to count down the days. Print and cut into 1 in. circles. Use a glue dot to stick the acitivity just below each nail. Put your ornaments on.

Have a blast doing fun things with your kids while counting down the days to Christmas! :)

Saturday, October 29, 2011

Halloween Costumes

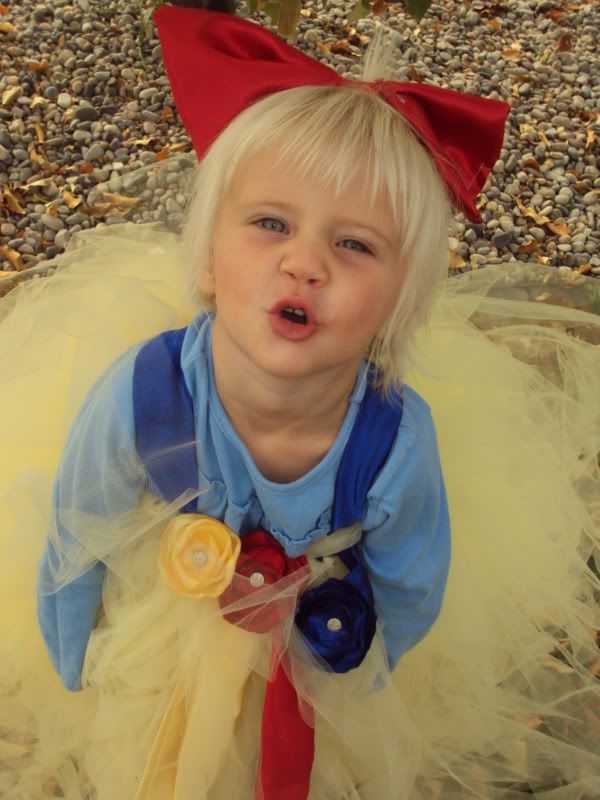
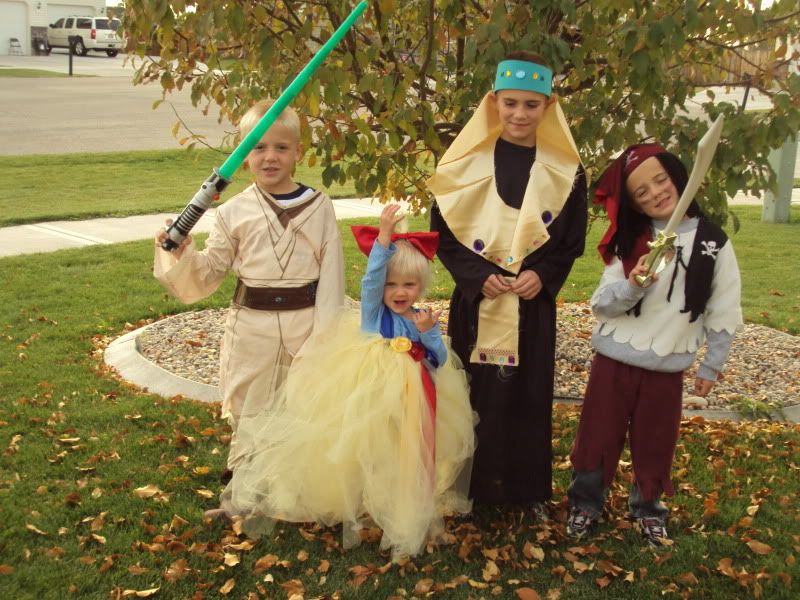
I made or semi-homemade three of our costumes this year. For Snow White, I got my inspiration here. I got my basic tutu instructions here and the satin flowers here. It took sixteen yards of tulle to get this baby done. But it so fluffy and girly, I love it.

Photobucket

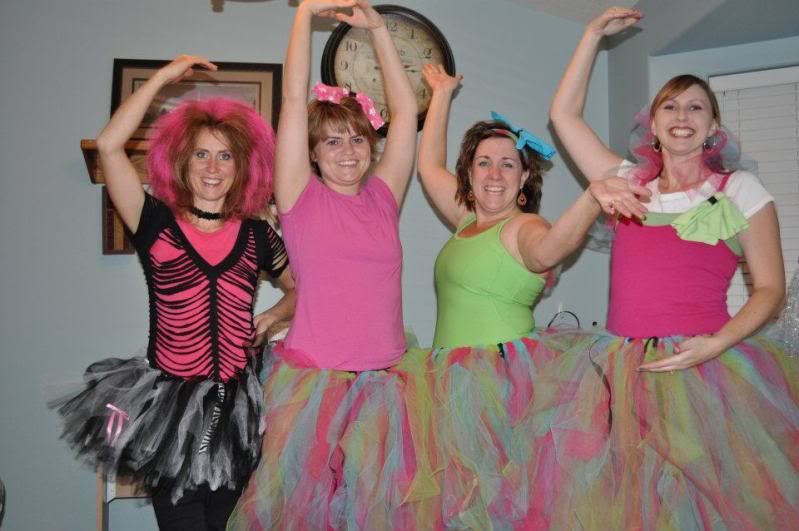
I couldn't let her be the only one with a tutu, and with a Zumba Halloween party coming up, me and friends decided to make some matching ones:
Photobucket

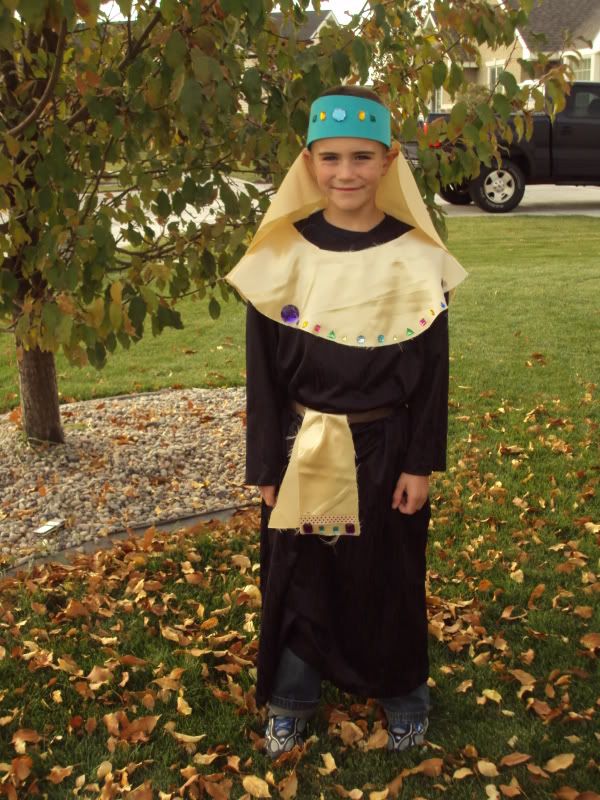
My oldest wanted to be a Pharoah, which wasn't an easy costume to find. When I finally got around to it, it wasn't too hard. His "robe" is an old thrift store dress I once used to be Cruella Deville, and I got the instructions for the rest here.

Photobucket

Hope you have a great Halloween!

Photobucket

Thursday, October 27, 2011

Easy Halloween Gift

I wanted to make a little something for my daughter to give to her preschool teacher and dance teacher for Halloween. I remembered seeing tile magnets at various places and decided to give them a try. They were SO easy! It only took about 30 minutes to make 3 sets. What you will need (per set): 4 - 2 inch tiles, vinyl, and magnets.


All you have to do is cut out your vinyl and then transfer it to the tiles and hot glue a magnet on the back. Easy peasy!


I found some little bags and curling ribbon in my wrapping paper box so I put the magents in the bags and tied them up with a cute little note from my daughter.


So easy and very inexpensive!


Saturday, October 22, 2011

Awesome (free) wood projects

We (my husband and I) finished a couple of projects that have been our list for quite a while.
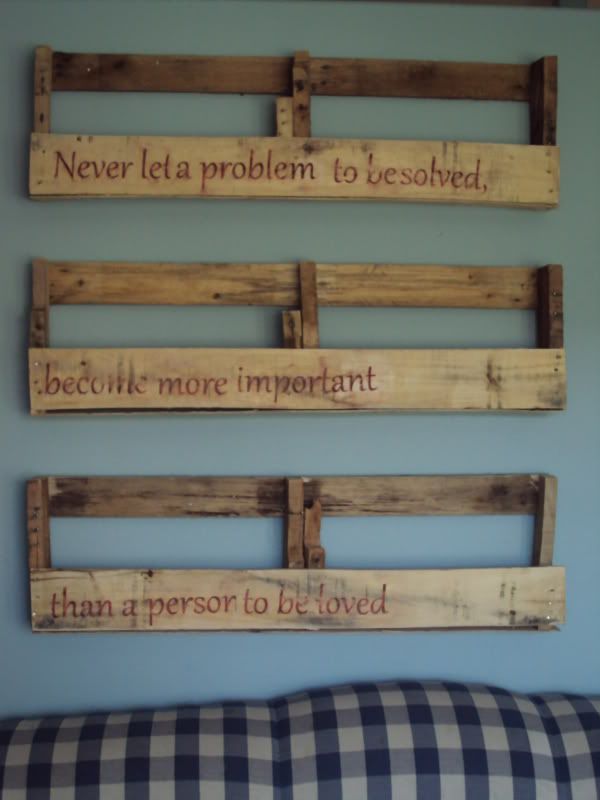
The first was these pallet shelves:
Photobucket

I got the idea here for the shelves and learned how to transfer the printed letters from here. The letters didn't transfer perfectly, but I think the worn letters complement the rustic shelves quite nicely.
I love the quote which is from the prophet of my church, President Thomas S. Monson. Now I can't wait to fill the shelves with photos and cute vintage things.

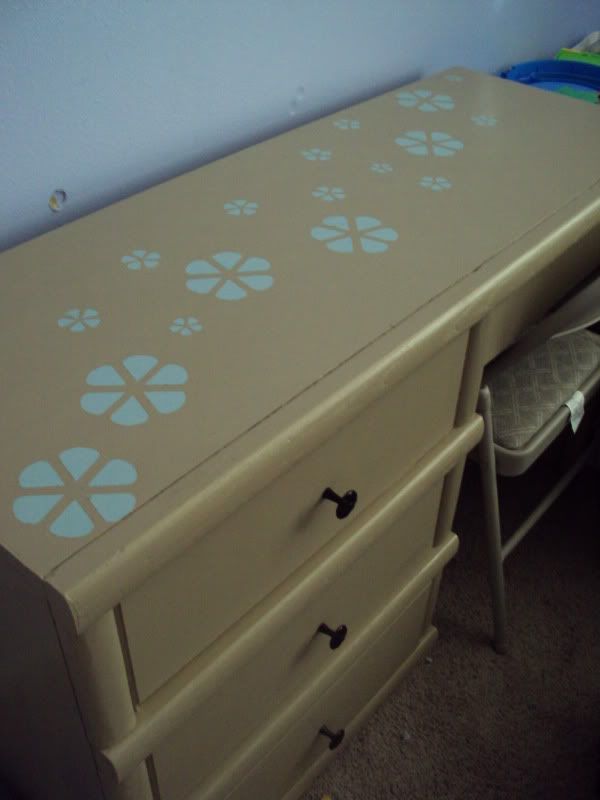
The second thing was to redo an old desk someone gave us. My husband sanded it and redid the drawers. I painted and used this technique to make the flowers.

Photobucket

Don't mind the dents in my wall. We won't get into that :)

Friday, September 23, 2011

Mickey/Minnie Wreath

Photobucket

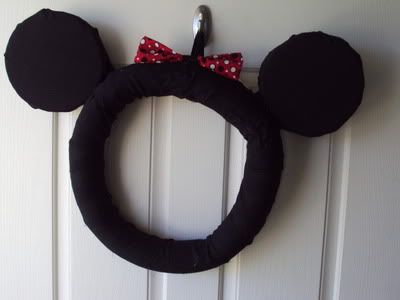
So it was on my list to make this adorable wreath but I was feeling too lazy to find that many balloons in the right colors. So, I made my own version out of materials I had around my house. Here is a quick tutorialette if you are interested.

1. Cut foam water noodle to size and use plenty of duct tape to tape it closed.
2. Cut strips off black fabric and wrap and hot glue around the wreath.
3. Wrap black fabric around foam circles and hot glue the back.
4. Cut a piece of foam board to fit the back of the circles and enough at the bottom to glue to the back of the wreath.
5. Use hot glue to glue the ears to the wreath.
6. Decorate as desired. ( I used velcro to attach the bow so I can change it to a Mickey)
I think it turned out pretty cute. I might change it up for the seasons: witch hat for Halloween, pilgrim hat for Halloween, Santa hat for Christmas etc. etc.