Showing posts with label decorating. Show all posts

Saturday, September 18, 2010

The $10 Wall

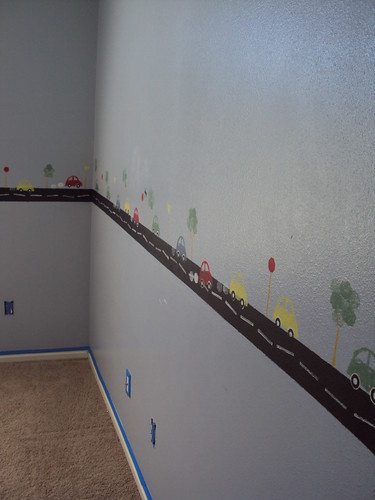
Upstairs we had an "extra" catch-all room. This is what one wall looked like (which was painted with love a few years ago for a couple of cute little boys who are now downstairs). It needed a redo. It had black permanent marker in a few too many places.
DSC06649
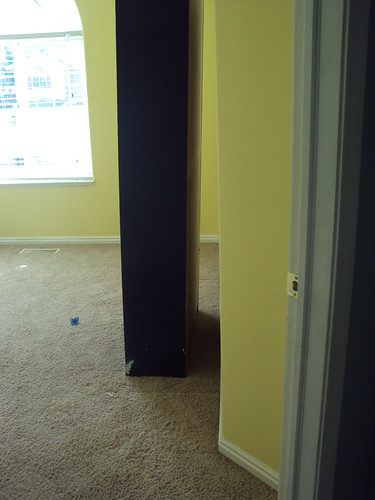
Since this room is bigger than my daughters room and I had to paint anyway....I decided to move her over. I painted this yellow color.
DSC06657

But it needed a little decoration. So, I took these of these chargers ($1.99 each) that I got from the Hobby Lobby.
DSC06598
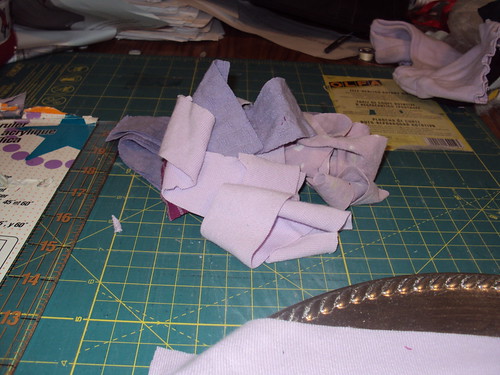
And then I cut some purple fabric scraps into strips.
DSC06600
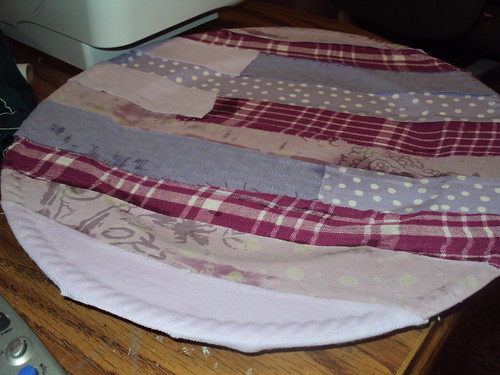
And then I used Mod Podge to glue them down in a random fashion
DSC06601


Then I found a leaf pattern from my computer and cut out 5 leaves for each flower from heavy purple fabric.

I traced the plate and made a pattern so I would know where to place them around the center.


DSC06664

Then I used a paint roller to roll some fabric starch onto the leaf.

Photobucket
Then I pressed it onto the wall, slightly under the pattern and smoothed out. At this point you can use a sponge to spread more fabric starch onto the top of the leaf. (To remove the fabric from walls, just dampen and peel off)
Photobucket
And here are all of the petals:
Photobucket

Repeat for any other flowers you want.
To hang the chargers, we used Gorilla Glue to glue a teeth bracket to the back, then hung them on a nail in the center of the petals.

Photobucket

Photobucket
I'm happy with how it turned out. The flowers are big enough they take up an entire wall. I like the modern/shabby look of them.

Friday, March 19, 2010

The $2 Treat Tray

Confession: I don't make pretty looking desserts. I've come to accept that fact about myself. So, when I saw these I knew I could make something adorable that I could put my ugly treats on.


This will be a short tutorialette, for more details click on the link above.
I found two trays at the dollar store and two candle holders at DI. (Goodwill)
Then I cut up some scrapbook paper into one inch strips and started mod podging them onto the tray. Then I put two more coats on top, and when that dried I did one coat of spray shellac.
Then I filled the candle holders up with some fake flowers and gorilla glued that to the bottom of the tray.
Now I have to decide if I should glue them in a stack (kind of tall)
Or leave them as is, side by side. What do you think?

Monday, December 7, 2009

Santa Table Runner!

I went to book club on Wednesday and at Amberly's house she had the cutest table runner. I got the wheels working in my head and decided to design my own. It was really quite simple actually, I made 2! One for me and one for a gift. I bought 1 yard of Super Soft fleece in Red and also 1 yard of this fabric that looks like lambs wool. Then 2 yards of leather type belt material, 4 belt buckles and 4 bells. Very simple right? I cut the yard of material in half and then took a carpenters square and laid it at the end and cut a v shape on each end of each piece. Then I laid them right sides together. I took the 2 yards of leather belt stuff (for lack of a better word!!) cut into 18" pieces and threaded the belt buckles on each piece. Made sure that the bottom of the belt was against the red fabric so that when its turned right side out again it will be right. I then pinned the pieces together with the belt sandwiched between and sewed around the whole thing leaving about 4 inches open to turn it right side out. After its turned right side out I hand stitched the opening closed and sewed bells on the points at each end. I think it turned out great! I didn't take picture by picture tutorials I didn't think about it until I was done. It went really fast though, I started cutting them out around 2pm and finished sewing at 4:30 that's 2 and a half hours to make 2. Now I didn't buy bells because I thought I had some at home. I got home and only had 3 so I finished the one I gave away and didn't get pictures of it. So this one still needs the bells, but otherwise its done.