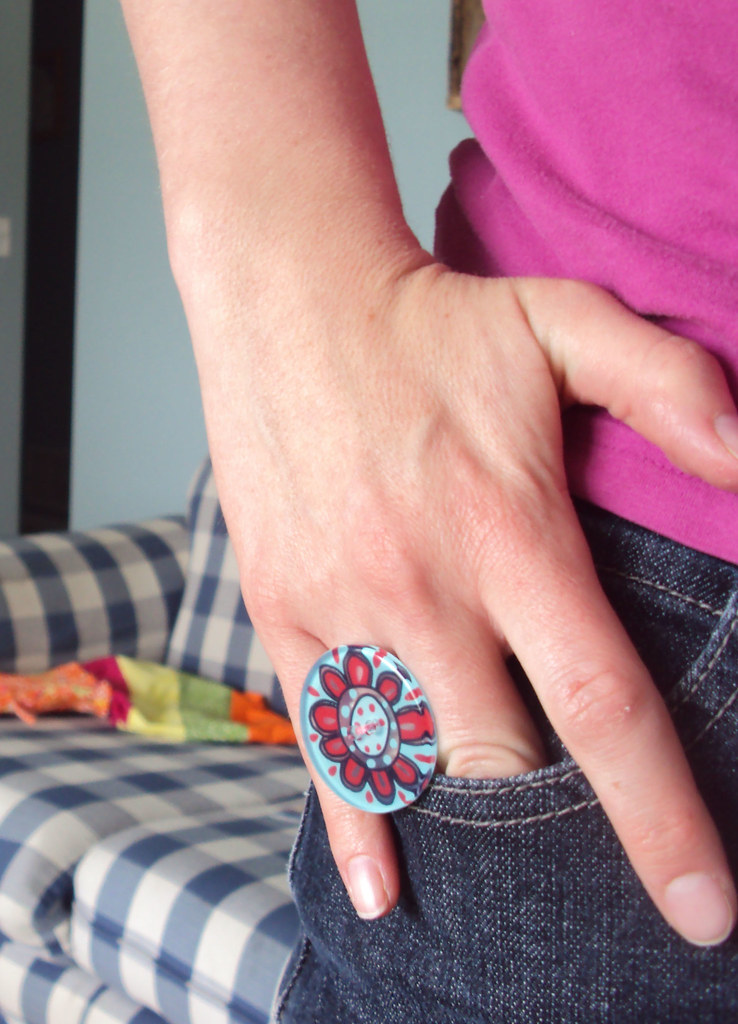

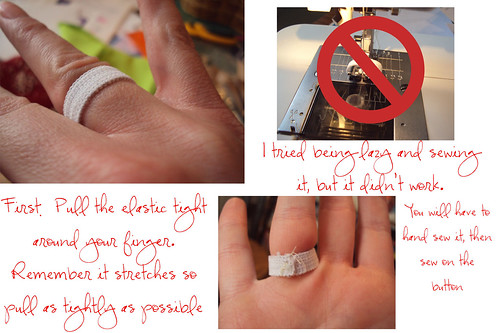
You will also need elastic.



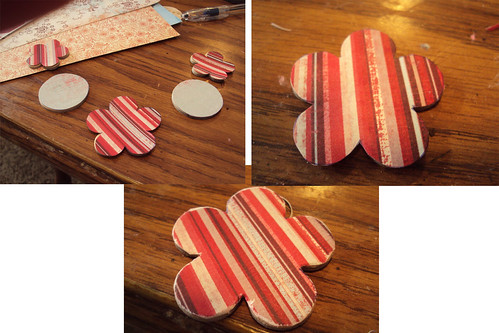
 I love making these polymer clay pendants. The original tute is here. Here is my version:
 Take your polymer clay and roll it out using a spray can. You can mix colors or leave solid. Then stamp an image onto the clay.
 You can get creative on how to cut it out. A steak knife, exacto knife, or look around your house. I took the bottom of a glitter jar and here and it gave sort of a bottle cap effect.
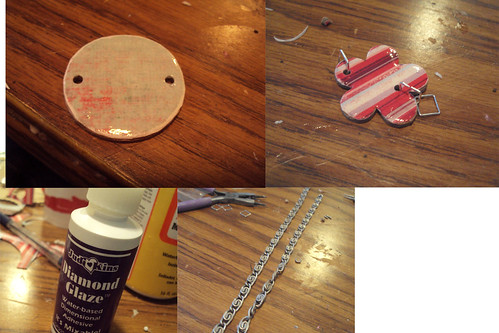
 You can also get the hole into your pendant a couple of different ways. Here, I took this end clasp here to make necklaces and punched it through two times to make a hole.
 Or you use a paper pierce or something else sharp to wiggle a hole into it.
 When you have made all that you want to, bake according to instructions on package. I might do a little longer than suggested so it is not still soft. After they cool down, paint with white paint, then wipe most of it off, leaving only white in your stamped image.


 So, on my project list was these ribbons headbands. But, of course I got distracted and decided to use ribbon to make a necklace for my woodsie pendants using the same concept as the headbands. Ribbon necklaces are popular, and you can make ones that cost next to nothing.
 Thread your pendant onto a ribbon cut to your preferred size.
 Dip one end into E-6000. I like this better than jewelry glue because it washes off your hands when you are done.
 Didn't get a picture of this, but put your end with glue into an end cap with loops. (Findings aisle at the craft store), then squeeze shut with pliers. Let dry. Then open up some jump rings and attach to the loop.
 Then you add the clasp of your choice to your jump rings.

 The other way I used my sewing machine.
 Cut the ribbon to length and then cut a piece of elastic the length you desire. You can also use a ponytail holder.
 Fold the ribbon around the elastic and pin.
 Using a zig zag stich, go back and forth a few times to sew together.
 Repeat on other end and there you go.
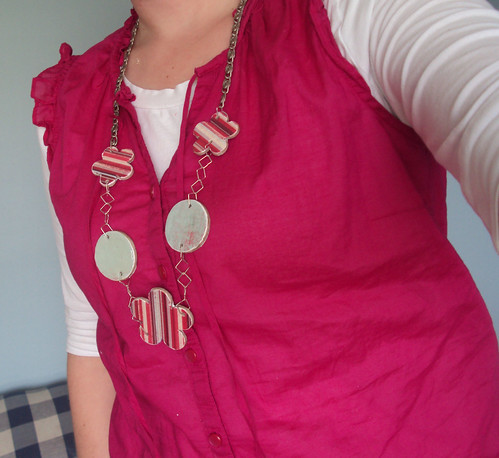
 Sorry for the crappy picture. It's hard to take pictures of yourself or make your kids take good ones. I'm not sure if I love the back. Maybe the ponytail holder would look better. Or shorter elastic. Or you girls with long hair could pull it off. I will have to think on it. Let me know if you have any great ideas.
 One of my favorite projects of last year was Makes and Takes Scrabble Tile Pendants. I love how versatile and fun these are to make and wear.
  But the problem was that I couldn't find the gel medium she has in her tutorial. So, I got to thinking-what kind of baby would I have if I married the Scrabble Tiles with the Wooden Pendants?
 7) To make it into a pendant you have a few options. The wood is pretty thin, so my 1/8th inch punch actually did punch through. It didn't really like it, but it did it. My Big Bite, however punched though it with no problem.
 Then you can add a jump ring and then attach to your necklace. I didn't have any jump rings on hand, so I glued a bail to the top of it with jewelry glue instead. You could also drill on hole on top.
 Then I hot glued the star onto the top so that part wouldn't show or rub your finger.
 For the keychain I punched a hole with my Big Bite and slipped a keyring into it.
 Now go make a whole bunch and see how fun they are.
 I like them because they are a little chunkier and you can use a bigger pattern than the Scrabble tiles. Plus, you don't have wait to find a Scrabble Set at DI. Scrabble tiles shouldn't have all the fun anyway, don't ya think?







 Posts
All Comments
Posts
All Comments


