New projects I've worked on lately:
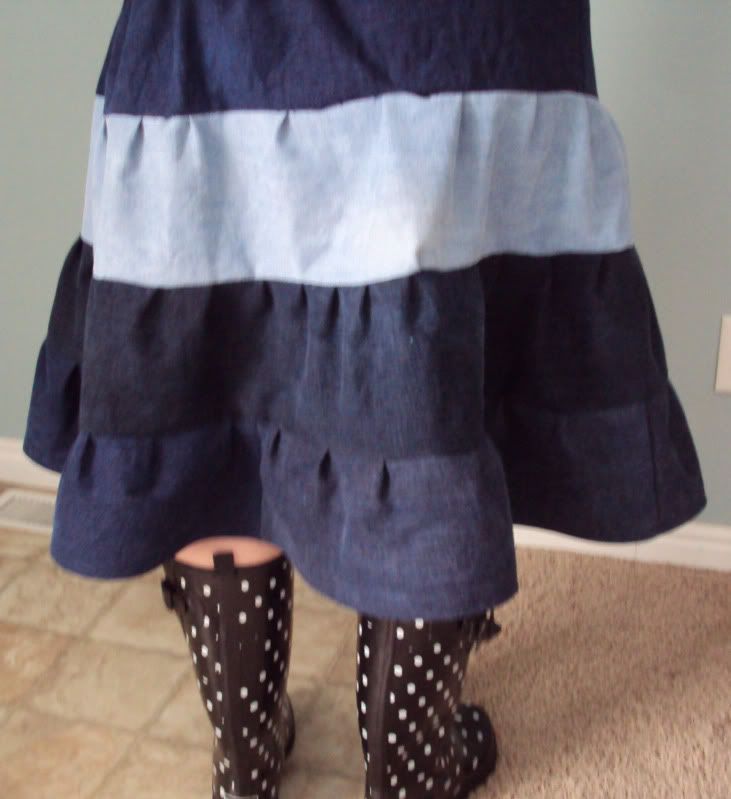
The five jeans skirt. Yes, this skirt took five pairs of old jeans that didn't fit well. Sorry for the blur. The five-year-old can only take so many pictures!!
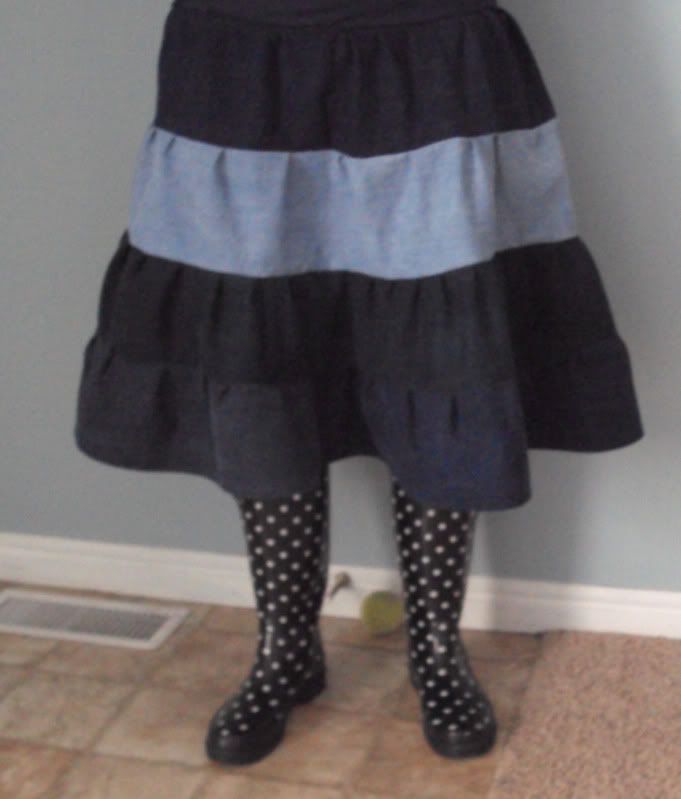
I used this tutorial to make the yoga band for the waist. Then I basically made six-inch strips out of jeans to make each layer. And when you are making each layer 1.5 inches bigger than the last, your last layer is very long.
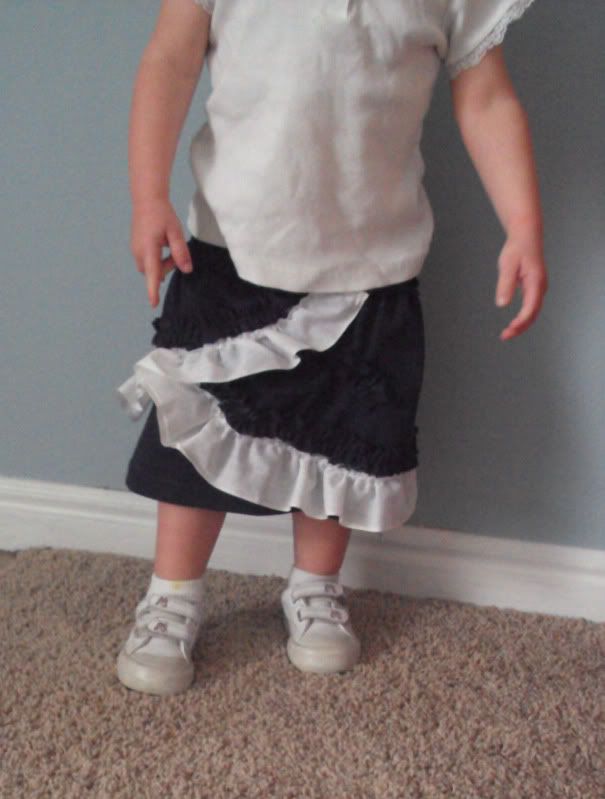
Then I made a little skirt for my daughter using this tute.
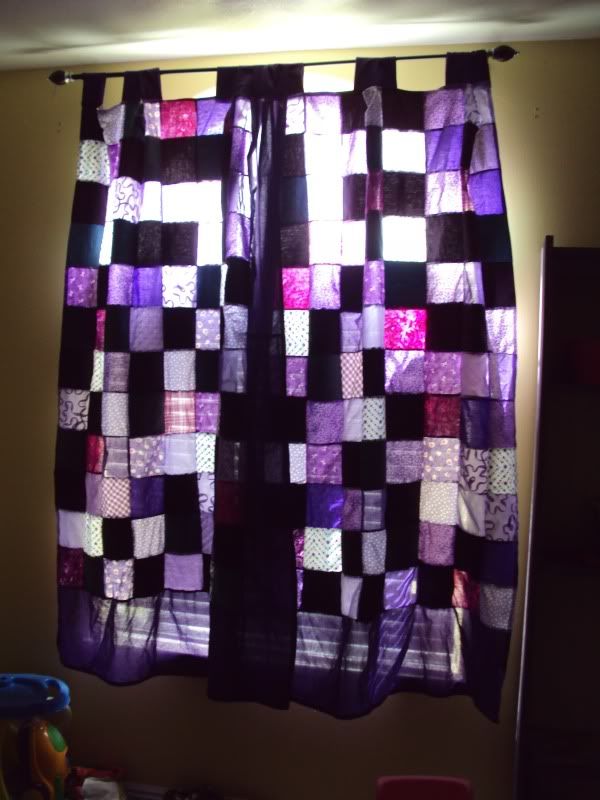
And finally I got my curtains up in her room. I used purple fabric I already had and then used some of friends extra purple fabric to make some patchwork curtains.
Tuesday, April 26, 2011
Tuesday, April 5, 2011
Vinyl Hair Flower
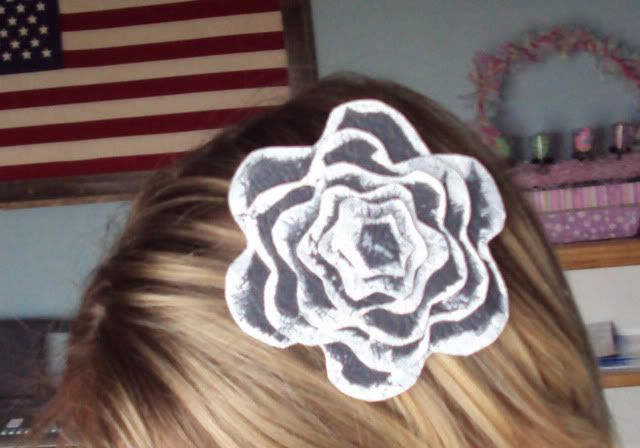
Whenever I get a moment to craft (which has been few and far between lately) I always seem to go for the hair bow/flower. It's easy, fast, cheap and you can accomplish something in the five minutes you have in between needy children! So today I came up with this vinyl hair flower. I think it turned out so fun and it really stands out.
Supplies: Vinyl Fabric
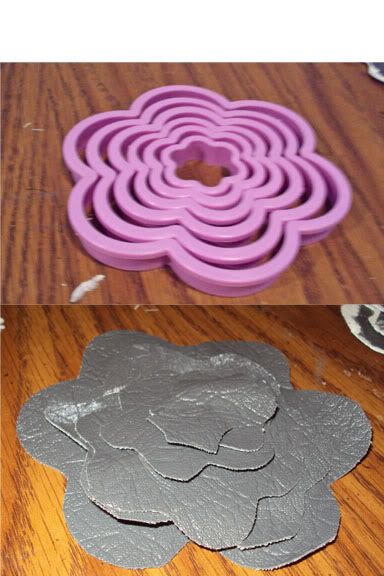
Flower patterns (I used my cookie cutter set from Wilton)
White Paint
Foam Brush
Glue Gun
Hair Clip
Ribbon
Step One: Trace your flower patten onto the back of the vinyl.
Step Two: Cut out (see picture below to see how blah it looks at this step)
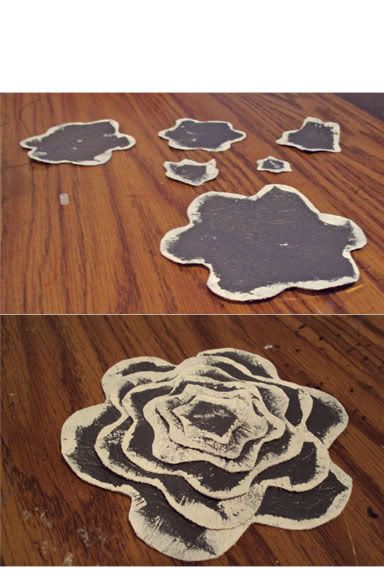
Step Three: Dip your foam brush into white paint and paint the edges on your flowers. It's ok to be a little messy. It gives it character.
Step Four: Let dry. Step Five: Hot glue the layers together.
Step Six: Glue a ribbon onto a clip.
Step Seven: Glue your clip onto the back of your flower.
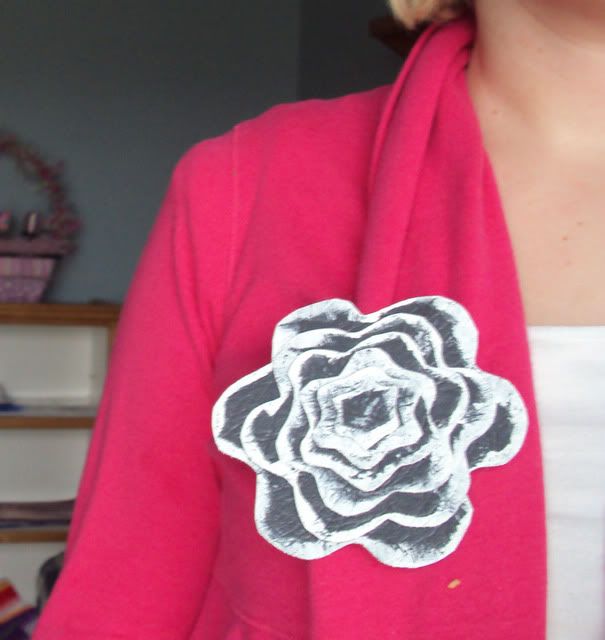
Step Eight: Enjoy your fast, cute and unique project. (Also cute as a pin)
Subscribe to:
Posts (Atom)